| FRENCO GmbH was founded
in 1978 and has since then been engaged in the special field
of gear and spline metrology. Most of today’s gears
and splines are precision items, for whose production both
know-how and special tools with very tight tolerances are
required. In order to inspect the manufactured workpieces,
companies need even more accurate measuring and inspection
equipment. FRENCO has committed itself to this challenge.
1978
- Foundation of FRENCO GmbH in Nuremberg, Germany
- Employees 8, equity € 50,000
- Production of gear and spline gauges
1982
- Move into new premises in Nuremberg
- First patent for displaying gear and spline inspection
instrument
- First business year with net profit
1983
- Start of partnership with Munkert GmbH in the premachining
1984
- Development of the FAPP system and application for a
patent
1986
- Equity increase on € 100,000
- First seminar with the special topic ‚splines’
1987
- Development of the INO system for gear and spline gauges
1988
- Move to Altdorf (Frenco and Munkert)
1990
- Extension of the company premises in Altdorf
- Patent for URM measuring wheels
1991
- Equity increase on € 200,000
- CAD system 2D, HP ME 10
1993
- Start of the CNC gear inspection with Höfler EMZ
- Start of the wire eroding of small spline gauge rings
- Frenco takes the chair for the DIN standards commitee
AA2 (splines)
1995
- Buyback of the Frenco shares from Frost Ltd.
- Start of the development of the roll scan
1997
- Pillar management system
- New gear and spline measuring laboratory
2000
- CAD system 3D Pro-Engineer
- FRENCO measuring laboratory is awarded DKD accreditation
for tooth flank artifacts and profile artifacts
- Company Munkert moves to Ludersheim
2001
- NC gear grinding machine Kapp and start of master gear
production
- Take over of the 'roll scan sector' from Ford
2002
- Equity increase on € 500,000
2004
- Drafting and adoption of the new FRENCO constitution
- Take over of the product line 'Double Flank Gear Rolling
Inspection' from Mahr
- Development and construction of the MEG electronic measuring
unit
2005
- Equity increase on € 1,000,000
- FRENCO measuring laboratory is awarded DKD accreditation
for all essential gear features
2006
- Take over of the product line 'Double Flank Gear Rolling
Inspection' from Hommelwerke
2008
- The turnover hits the € 10,000,000 mark
- Start production of helical internal gears
2009
- Completion of the enhancement and refurbishment of the
company premises
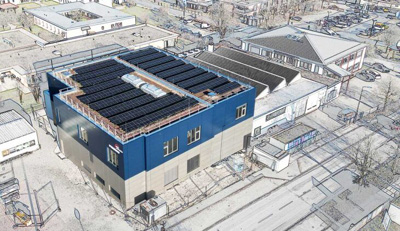
2025 Nuovo stabilimento

|

